
Why Bandaging Your Dog Properly Matters
In moments like these, it’s crucial to react appropriately and apply a proper dressing—not only to protect the wound from your dog’s incessant licking, but also to prevent further complications. An improperly placed bandage can unintentionally act as a tourniquet or trigger an infection, turning a simple scratch into a much bigger ordeal.
In this guide, you’ll discover why it’s essential to apply a wound dressing correctly and uncover simple, effective techniques for bandaging your dog in a way that’s both safe and comforting.
What is a Bandage or Dressing?
A dressing is a protective covering for a wound, shielding it from exposure to external microorganisms. The bandage’s main role is securing the dressing in place over the injured site. The term ‘bandage’ is also used when referring to the splinting of a fractured limb, where the goal is to immobilize the area, often as a first-aid measure before veterinary intervention.
Several types of bandaging exist:
- Crossed Bandage: Primarily used for a dog’s leg. This technique ensures a dressing stays snug over a shallow, surface wound.
- Circular Bandage: Used for wrapping around the abdomen or a similar area. There’s less need for crossing here, since dogs can’t easily reach and disturb it.
- Support Bandage: Essentially a circular bandage for a fractured limb, secured with four splints to immobilize the area until a vet can treat it.
Bandaging Your Dog: Why Attention to Detail is Essential
Being able to properly dress your dog’s wound is vital—it’s the best way to prevent complications and help your dog heal quickly and without lasting issues.
If a dressing or bandage is poorly done, it can act as a tourniquet, cutting off blood flow to the area. This disrupts the oxygen supply, potentially leading to tissue death and impaired healing—a serious risk to your dog’s health.
Another common pitfall comes from the nature of a dog’s skin. Because a dog’s skin is smooth, owners often over-tighten bandages in an attempt to keep the dressing in place, which can unintentionally cause even more harm.
Materials and Simple Techniques
To put together an effective bandage for your dog, gather the following supplies:
- Disinfected scissors
- Sterile gauze
- Gauze bandage
- A disinfectant solution
- Medical adhesive tape
- Cotton padding
Before You Begin: Preparing the Wound
Before applying any dressing, it’s essential to prepare and disinfect the area—a step you can’t afford to skip. If the wound is covered in hair, consider shaving the area for easier treatment.
- Rinse the wound thoroughly with water.
- Using a single-use gauze pad and an alcohol-free antiseptic lotion, gently clean the area.
- Allow the skin to dry completely before moving on to bandaging.
Applying the Bandage
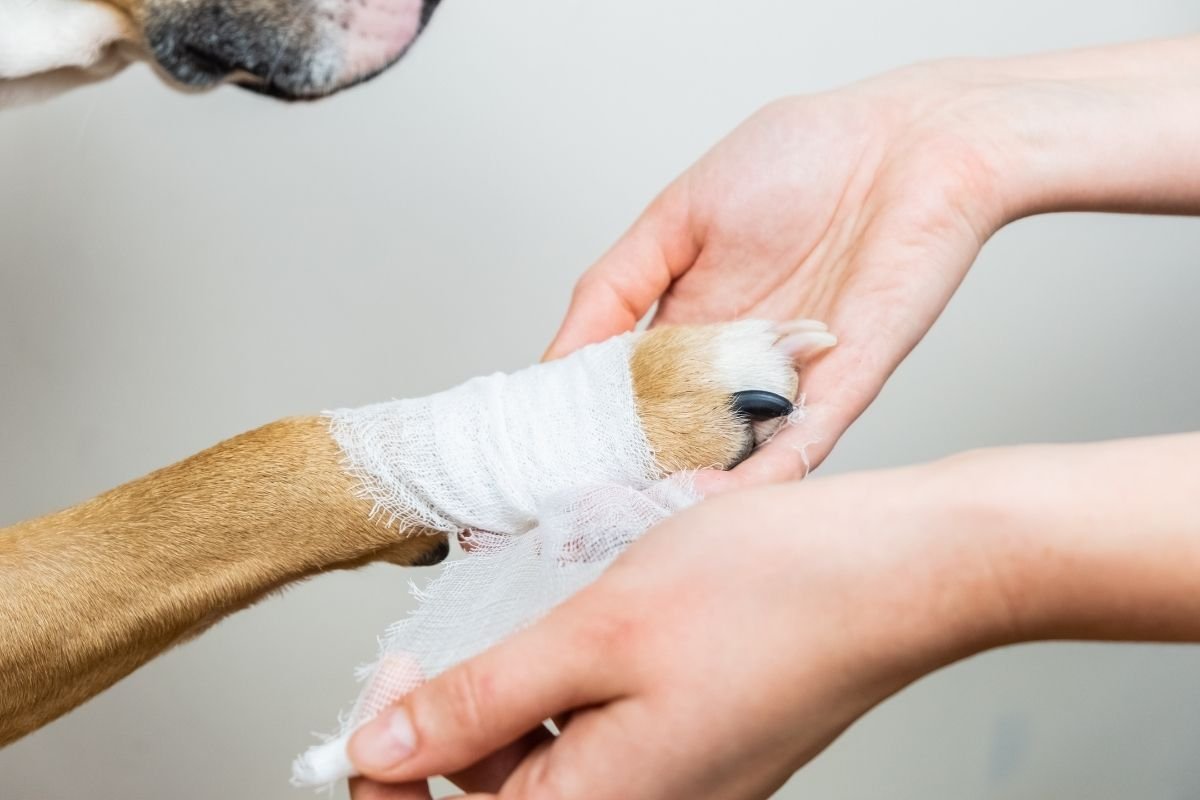
For bandaging your dog’s paw or leg, a crossed bandage is usually sufficient. Start by wrapping the limb in cotton, then continue by winding a gauze bandage around it. Alternate standard circles with diagonal turns going upwards, then repeat. Secure the ends with medical adhesive tape.
For a circular bandage, wrap a wide band around the entire injured area. Make sure the bandage is evenly thick throughout, and avoid making it too tight—especially around the chest or abdomen—to prevent breathing trouble.
Always protect the dressing after finishing—use an Elizabethan collar (cone) to keep your dog from interfering with the bandage, or, if your dog finds it uncomfortable, a sock can be placed over the bandage on a paw.
As a golden rule: never over-tighten the bandage. Lay it gently on the skin; that’s all it takes.